

Our LVP Floors: Provenza Review

This post was written in collaboration with Provenza Floors. I was given a discount on my flooring purchase in exchange for this post. All opinions are my own.
If you’ve been following our kitchen remodel on Instagram, you may know that we started our renovation because of a dishwasher leak that got underneath our floor, ruining our tile and cabinets! So when it came to choosing our NEW floors, it will come as no surprise that finding something durable and waterproof was at the top of our priority list. Enter: Luxury Vinyl Plank (LVP).

Having never done a remodel before, we really had no idea where to start but our contractor and everyone else kept talking about LVP! We always loved the wood floor look, but we just couldn’t bring ourselves to put real hardwood in our kitchen (hello grease stains and imminent repairs). After researching LVP and looking at a hundred and one samples, we decided it was the right choice for us… as long as we could find a good quality product that was the right color AND had the right feel.
Why We Chose LVP From Provenza Floors
When we first started looking, we found a few options that we liked… but none that we loved. Some were the right color but did not have a thick enough wear layer. Others had a good texture but looked like they were screen printed. Since we decided to redo our entire downstairs, it was crucial that we didn’t settle on these floors. So we quickly started forming a list of our must-haves if we were going to choose LVP.
What to Look For In LVP Floors
A Wear Layer of 20MIL: after speaking with a few flooring companies, we learned that a wear layer of 12MIL would last us 10-15 years, but a 20MIL layer would last us a “lifetime.” Though 10-15 years is a long time, I’d much prefer to opt for the lifetime.
Waterproof… not water resistant: Need I say more? We also made sure that our contractor would be laying it down underneath our cabinets and not cut around the cabinets so that water wouldn’t get underneath it. Surprisingly to me, a lot of contractors have the flooring stop at the cabinets, making it much easier for water to get beneath the surface (just like what happened to us!).
A realistic texture: a lot of the LVP we looked at did not feel very much like wood and even had a plastic look to it.
The perfect color: I’m a little picky, ok?
Finally, Josiah was looking on Pinterest and found this pin by Sprucing Up Mamahood and we instantly fell in love with the look and color. Once we found out that it was made by a company called Provenza, we found our local dealer and headed to find out if it met all of our qualifications… spoiler alert, it did!
Choosing our LVP Color
Though we originally fell in love with Provenza’s At Ease color, they had so many gorgeous options we ended up getting several samples from their Moda Living Collection. Because all colors look slightly different on a digital screen, it was important to us to see several options in person.
A note on seeing samples: the local retailers have larger sized samples with multiple planks that give you a better view of what the floors will ultimately look like when they’re installed. You can find your local retailer on their website! However, if they don’t have the color you’re looking for in stock, they can order more options for you (they will just be a smaller size).
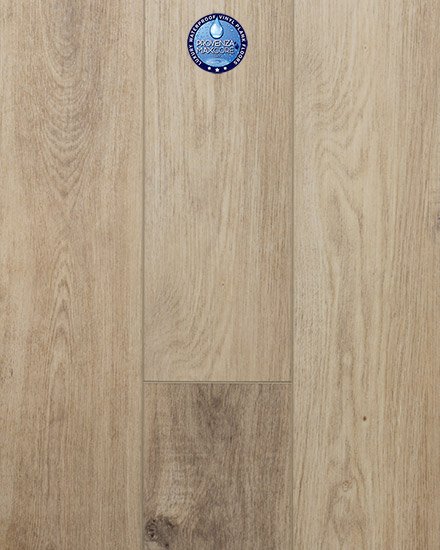
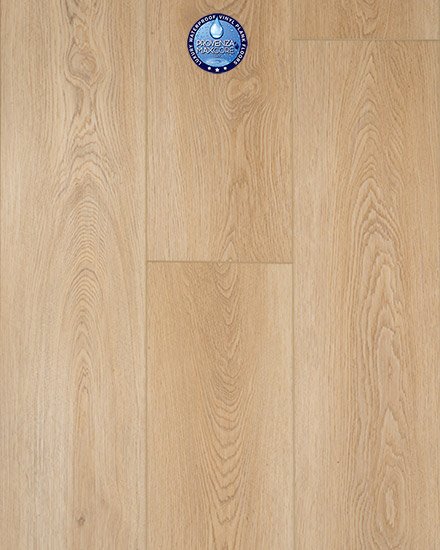
We were looking for a light oak color that wasn’t too yellow or too gray, not too barn-y but still had character. Not picky at all, right? Luckily, Provenza had great options for this and we narrowed it down between Road Trip and The Natural (though beautiful, At Ease ended up having more gray tones in person than we thought).
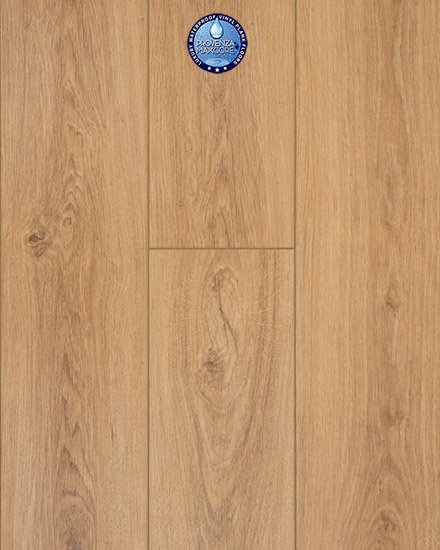
Our Favorite LVP Color From Provenza
We ultimately decided to choose The Natural because it was our favorite option in person, not matter the lighting. Depending on the time of day, spot in the house and color of your lightbulbs, each flooring color changes so much… and this one stayed the closest to our ideal color in every situation. It ended up being an easy choice! And luckily for us, it was in stock.
Word to the wise: make sure to plan your floors in advance if you can! High quality materials like these are often on backorder and you don’t want to end up having to settle when it comes to your floors!
Installing The LVP Floors
LVP is a floating system - the floors snap together and you don’t have to glue them or nail them down. The underlayment is already attached to the flooring, so there are no additional steps there either. We did not install the floors ourselves, our lovely contractors did, but I’ve read many blog posts where homeowners did it themselves!

How Much Does LVP Cost?
We found LVP anywhere from $2.50 SQFT - $7.50 SQFT depending on the brand (and wear layer) and installation cost us around $4 SQFT.
Things to Note Before Installing
The Floating System
Because LVP floats on top of your subfloor, it may take a few days for the floor to settle in. In the beginning we had a few crackling sounds when we walked on the floor but that went away after a couple days.
You will also want to consider the condition of your subfloor and joists. The LVP rests on top of your subfloor, so if there are inconsistencies in the foundation, you will be more likely to feel them through your floor. We had a couple spots where the joists are not completely even, so we can feel a slight change in the floor. It does not make much of a difference to us, but it is something to consider when deciding if a floating system is for you!
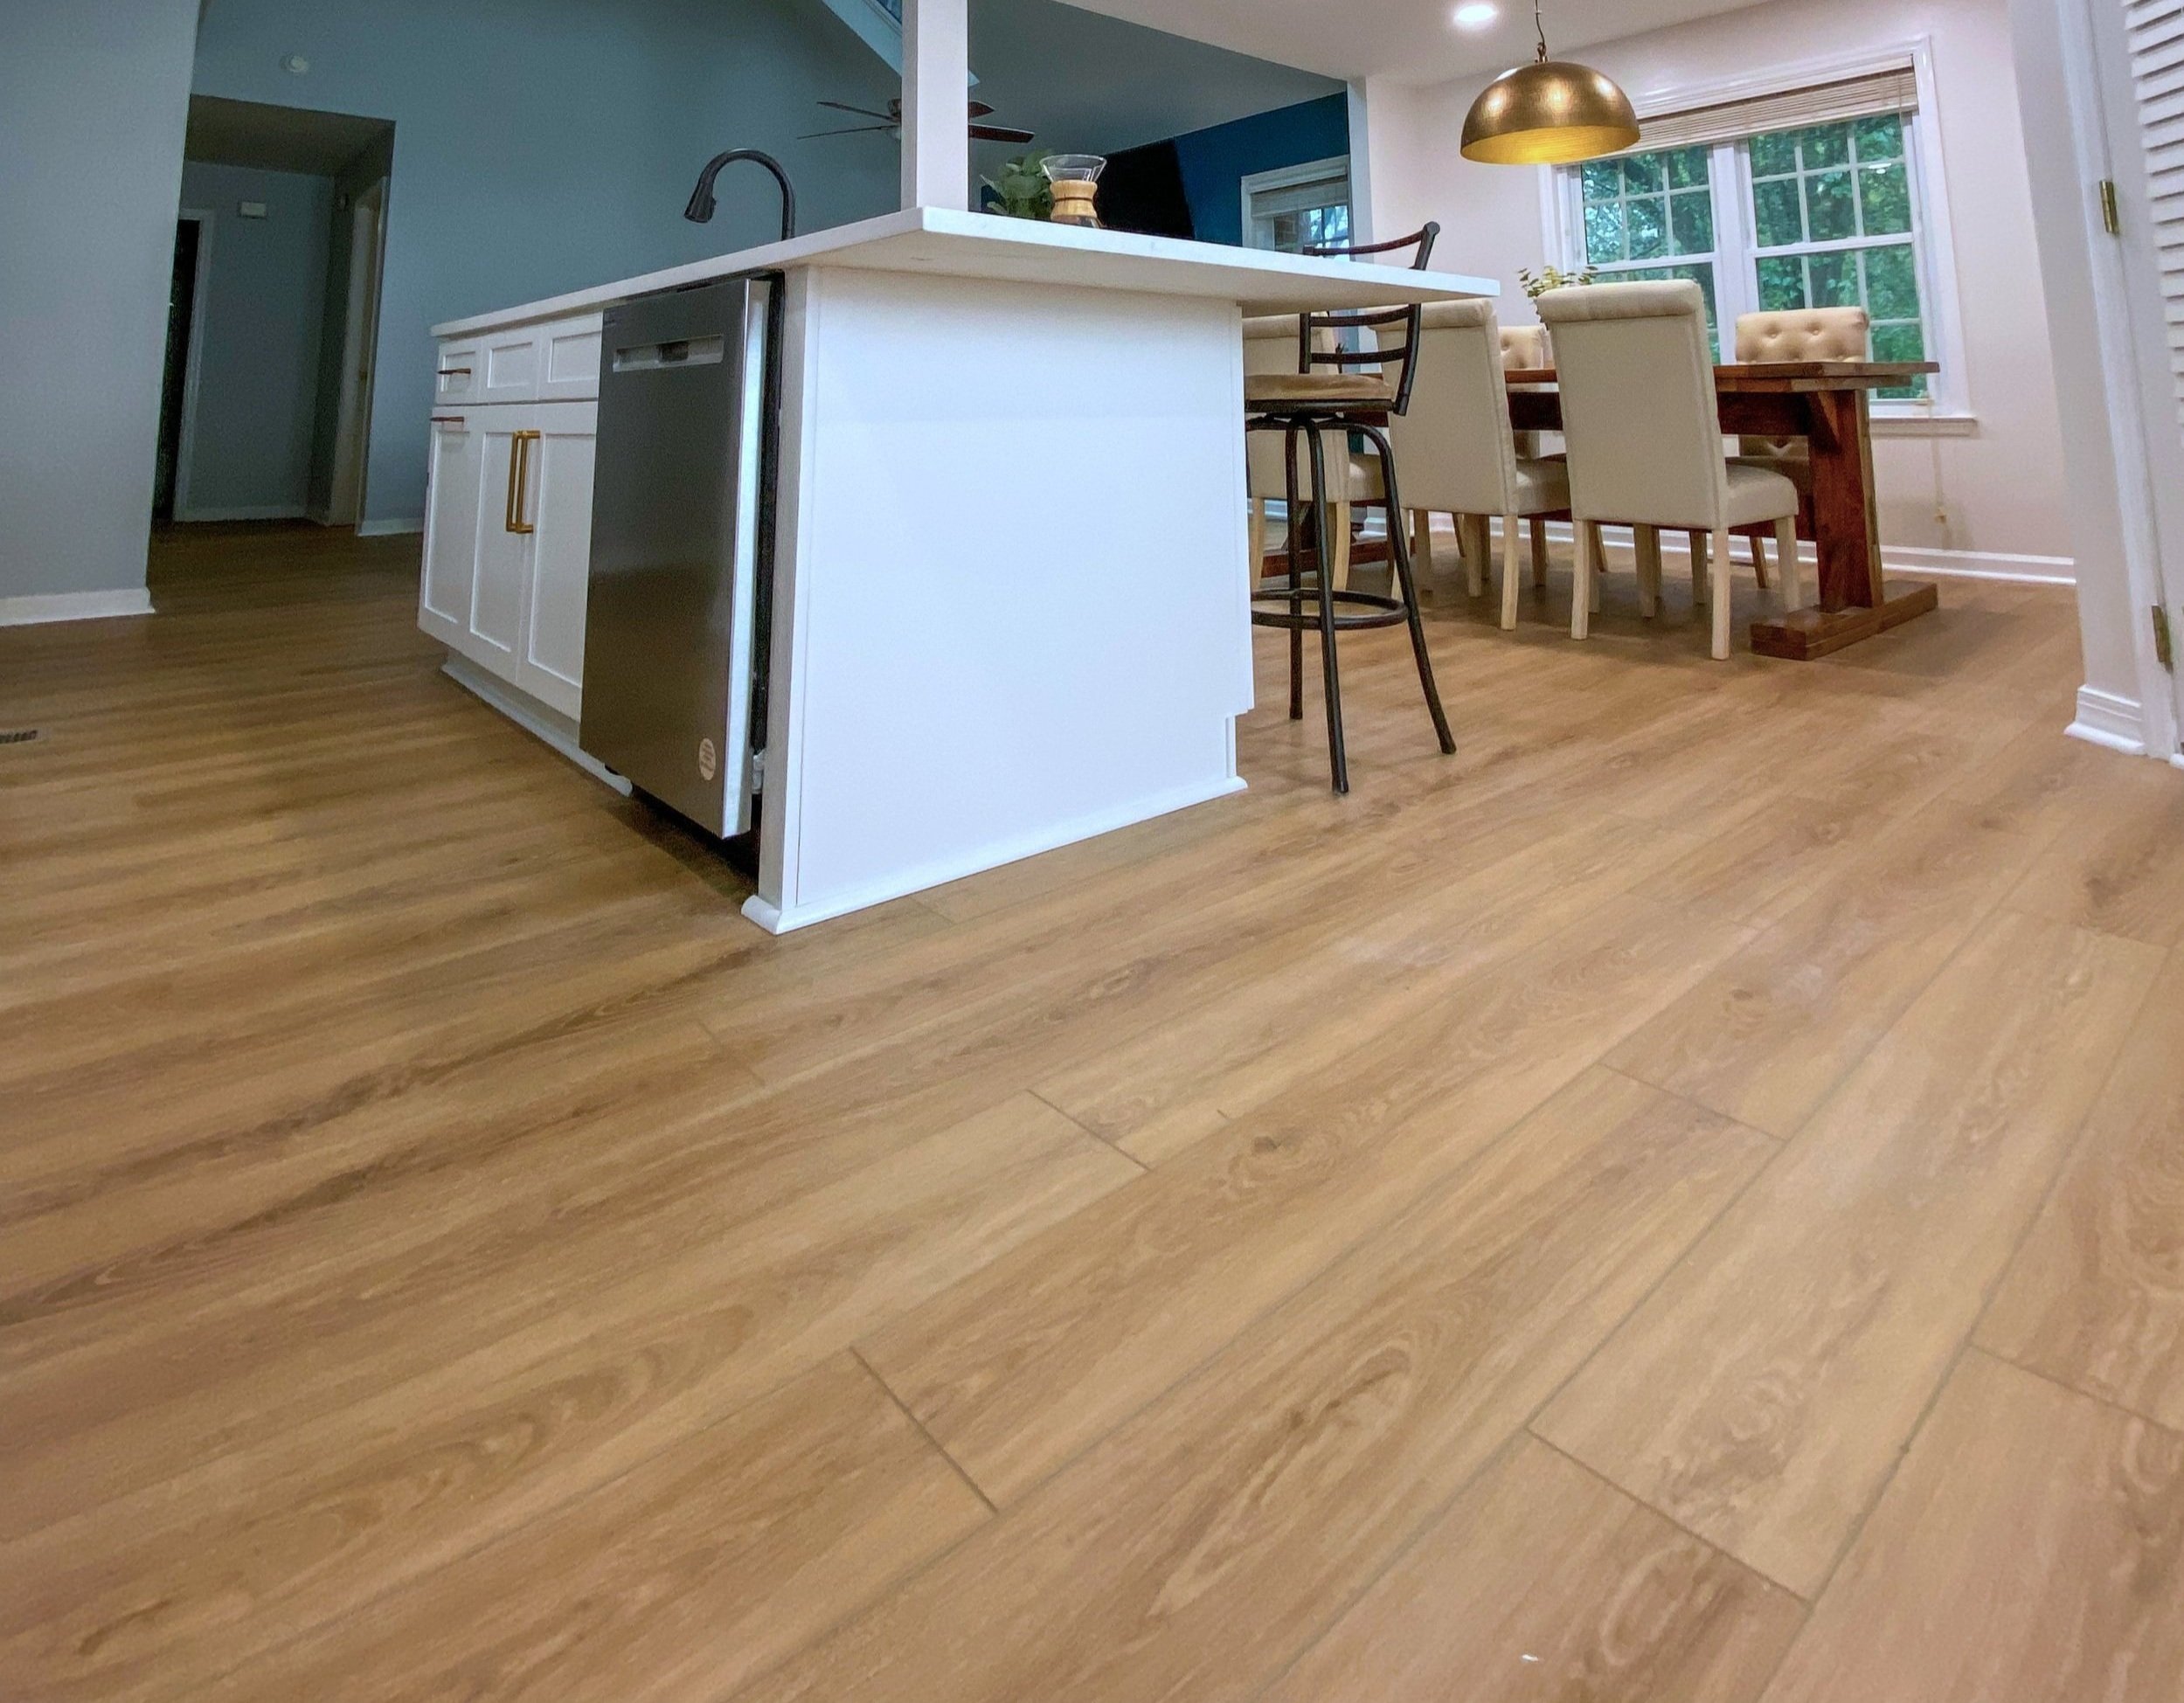
The End Result
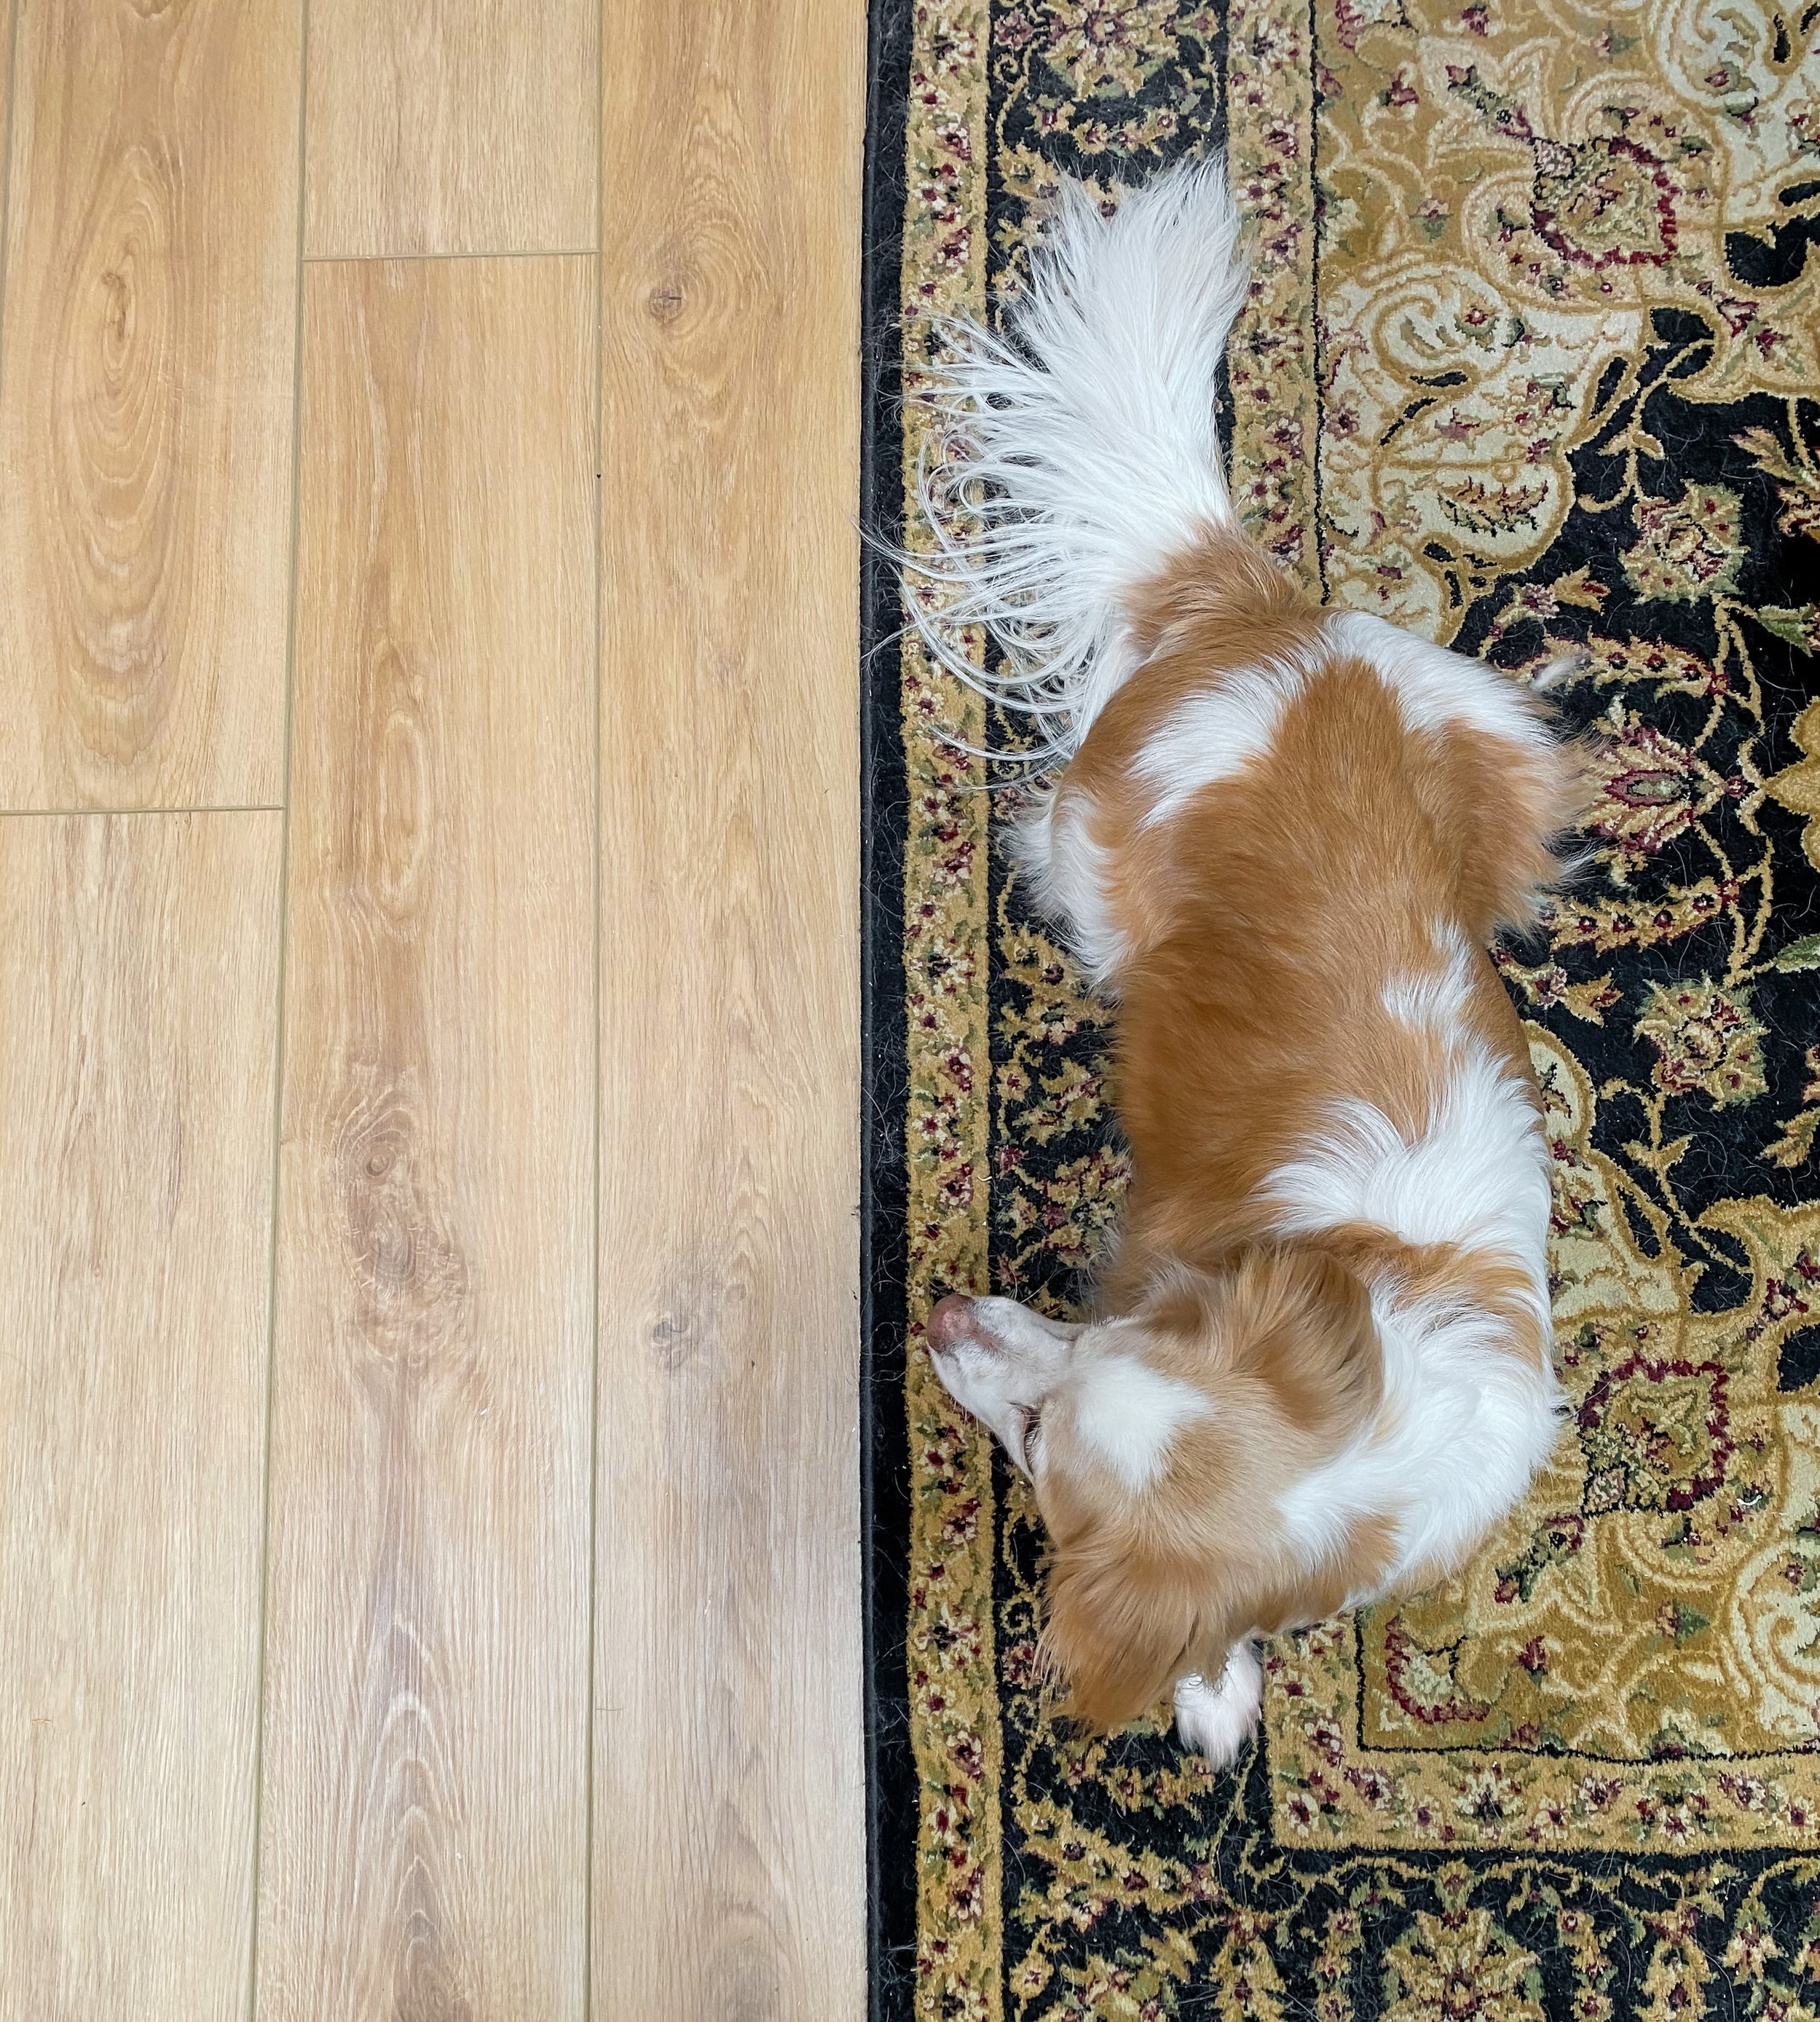
When we were able to see the final product, walk on it, see it with our furniture and wall color… we were so excited! The floor looks like hardwood (I’ve had people ask me what stain color we used on our hardwood haha!) and our dog doesn’t scratch it up. I’m so happy knowing that we chose something that is durable and will last us a lifetime!
What do you think of the final product? I’d love to hear your thoughts on LVP!